You just landed a new client. Before creating their first QR code, you need a dedicated space for their project - somewhere their QR codes, files, and team access won't mix with your other clients. Creating a workspace takes 30 seconds and gives you a clean slate ready for action.
Open Workspace Selection
Click Switch Workspace in the sidebar to open the workspace selection page.
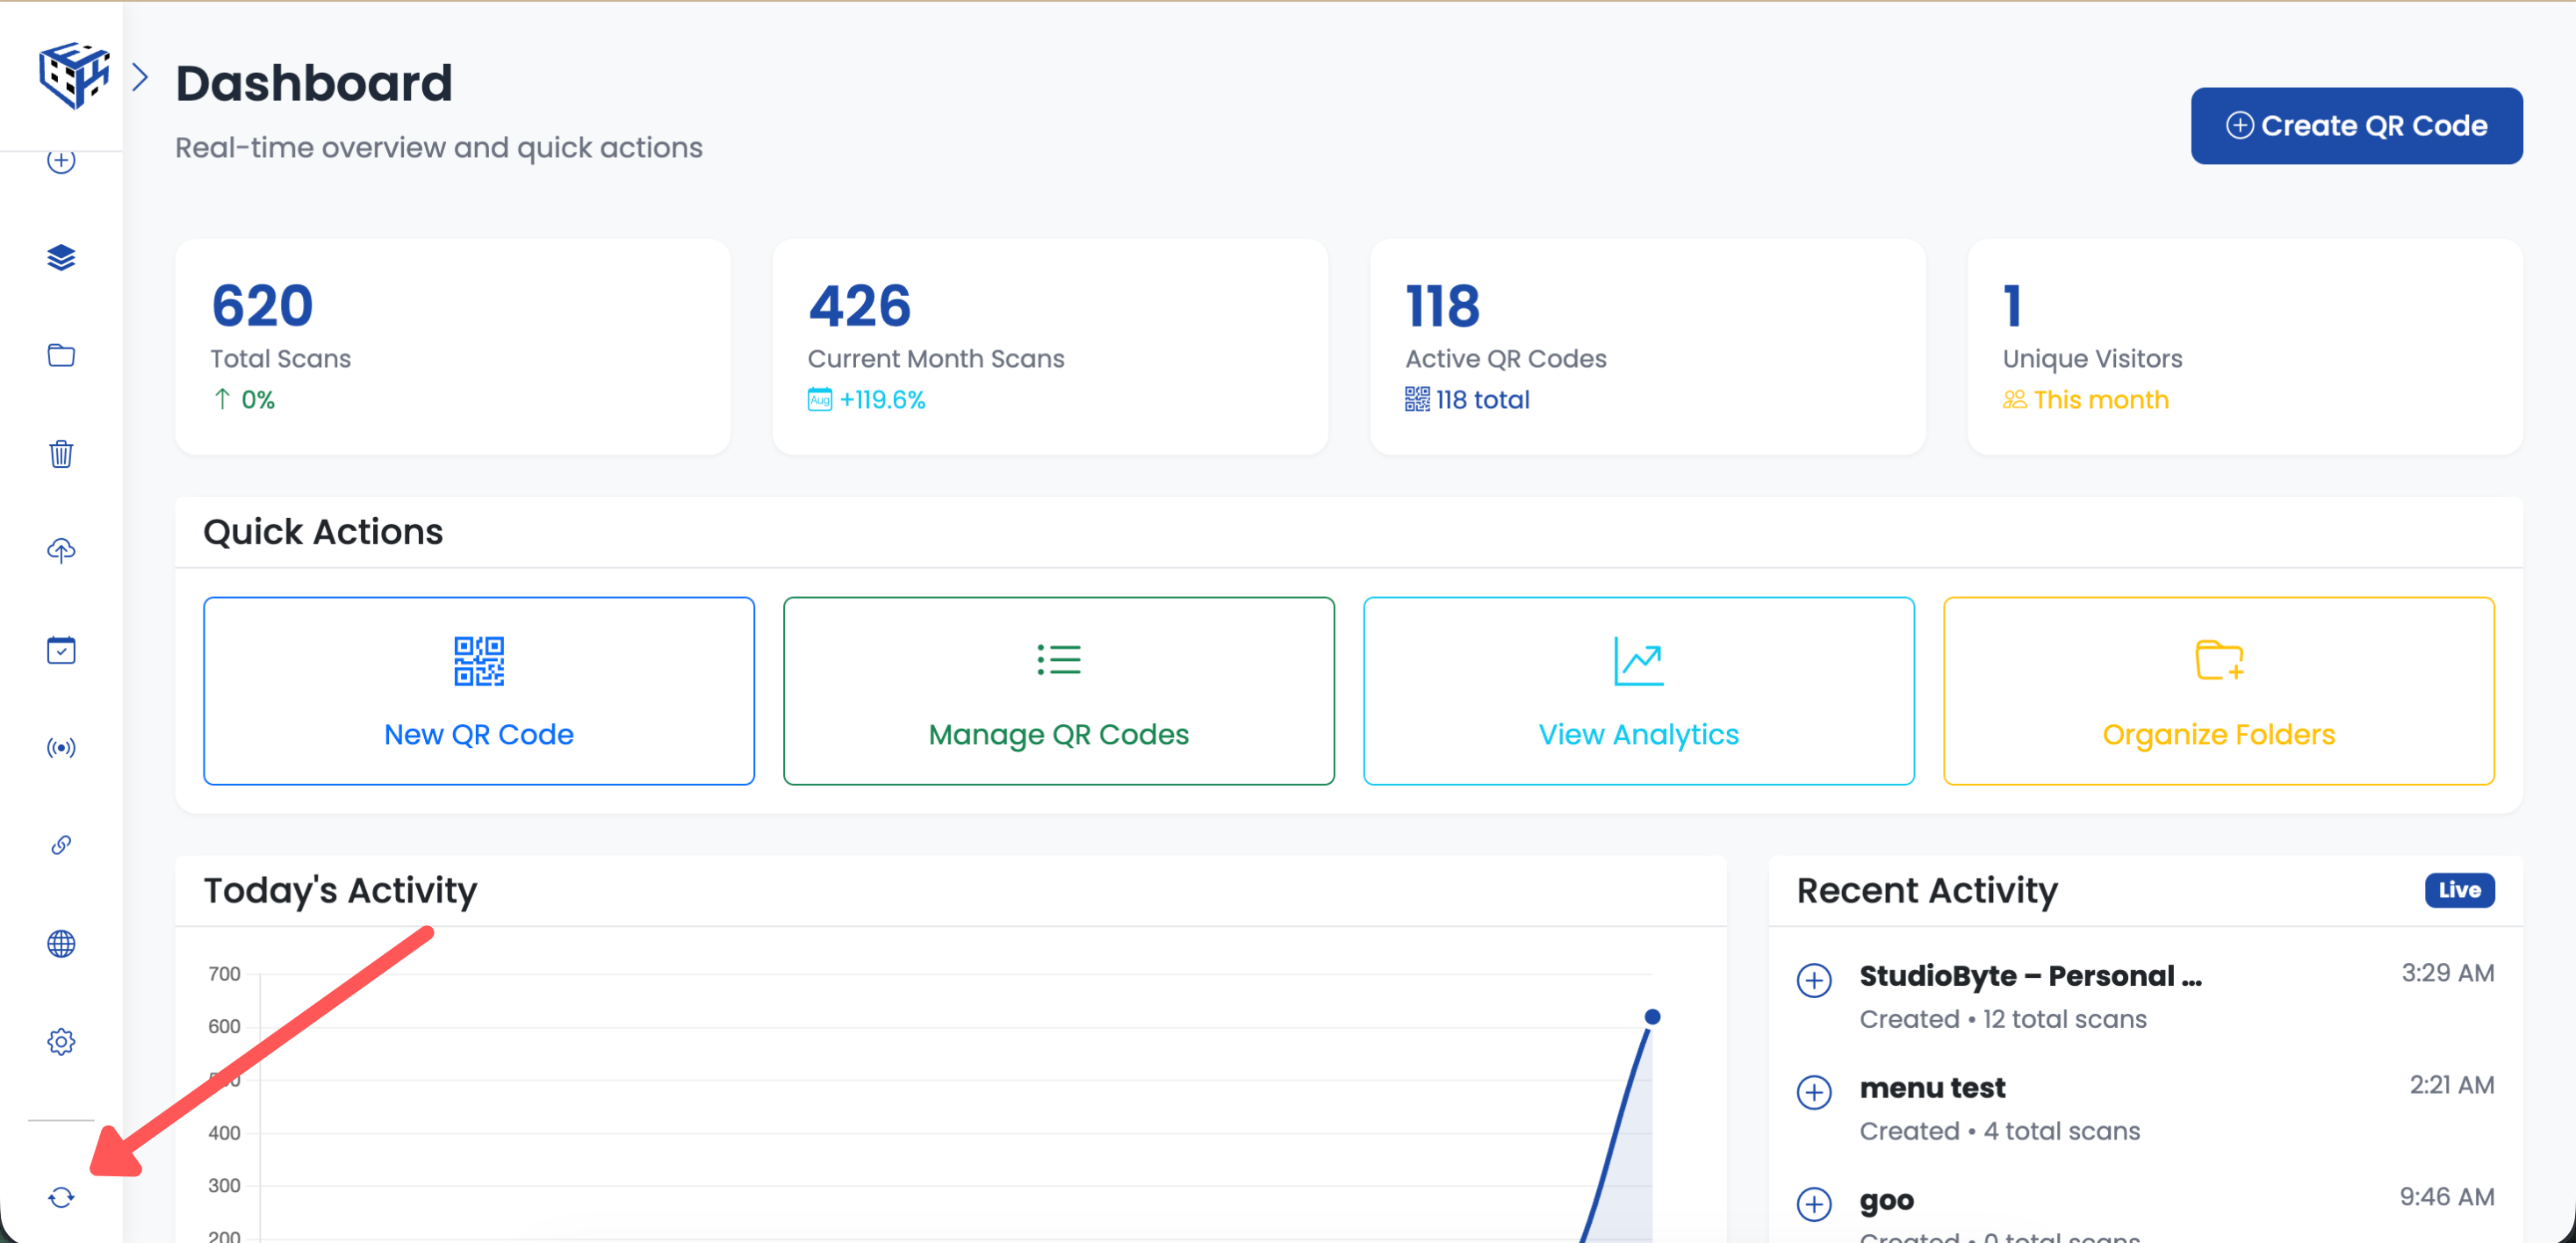
Click Switch Workspace in the sidebar
Click Create New Workspace
Click the Create New Workspace button in the top right corner.
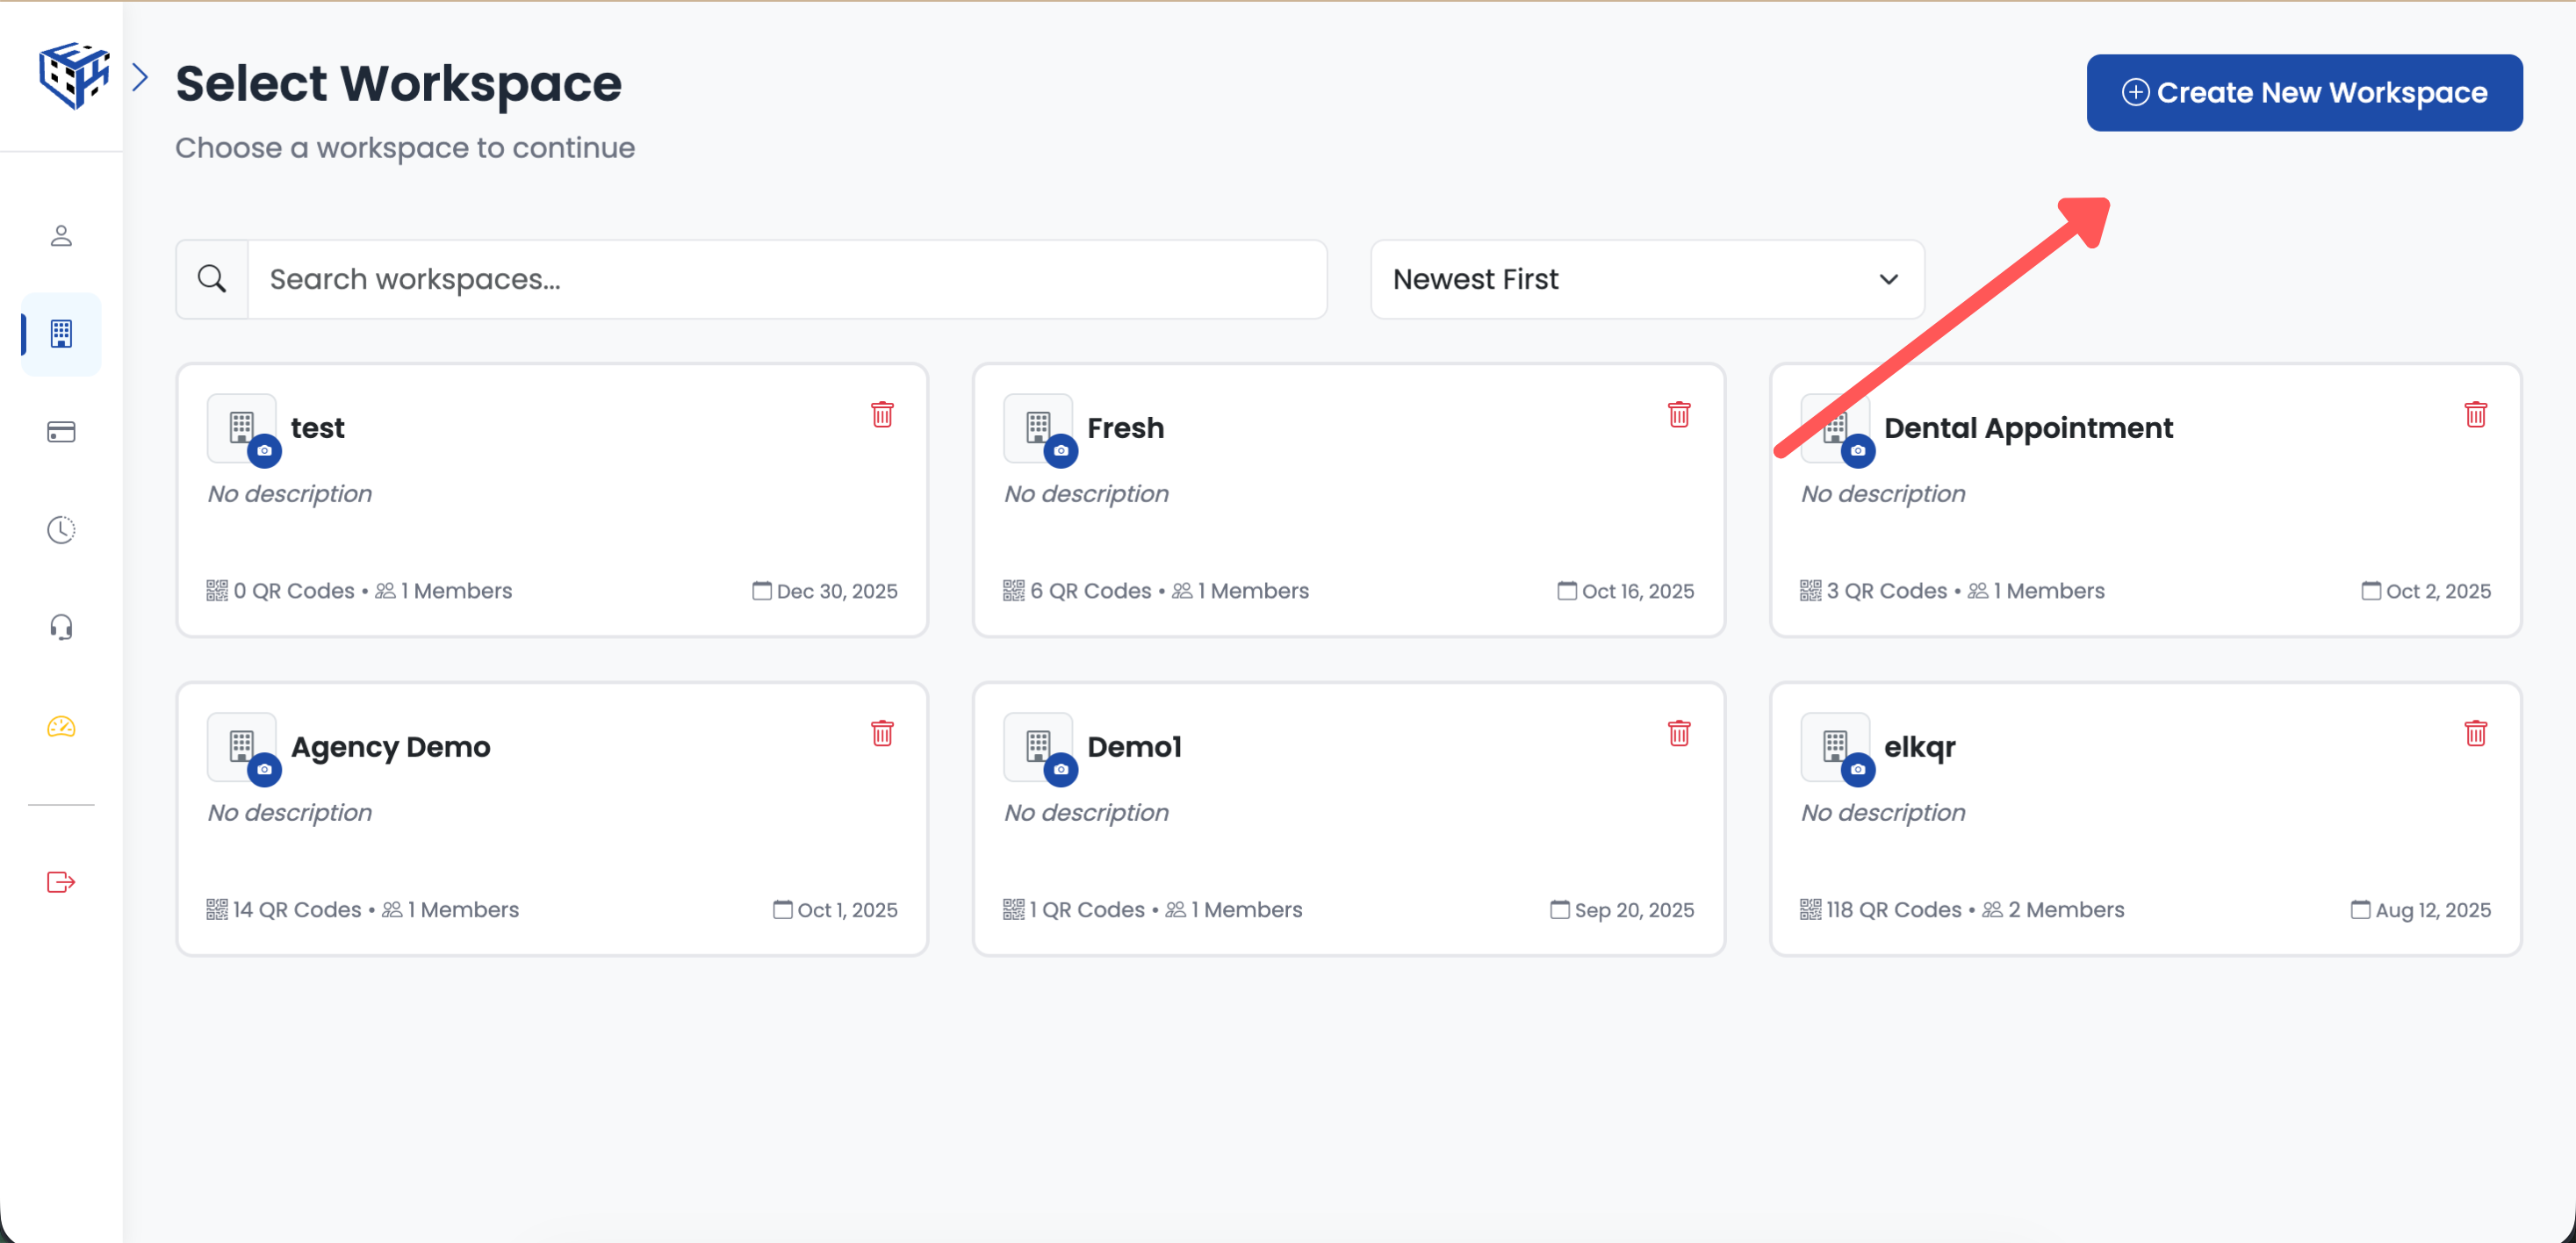
Click Create New Workspace
Enter Workspace Details
Fill in the workspace information and click Create.
| Field | Details | Example |
|---|---|---|
| Workspace Name | Required, max 60 characters | Golden Gate Restaurant Group |
| Description | Optional, helps identify the workspace | QR codes for 12 restaurant locations |
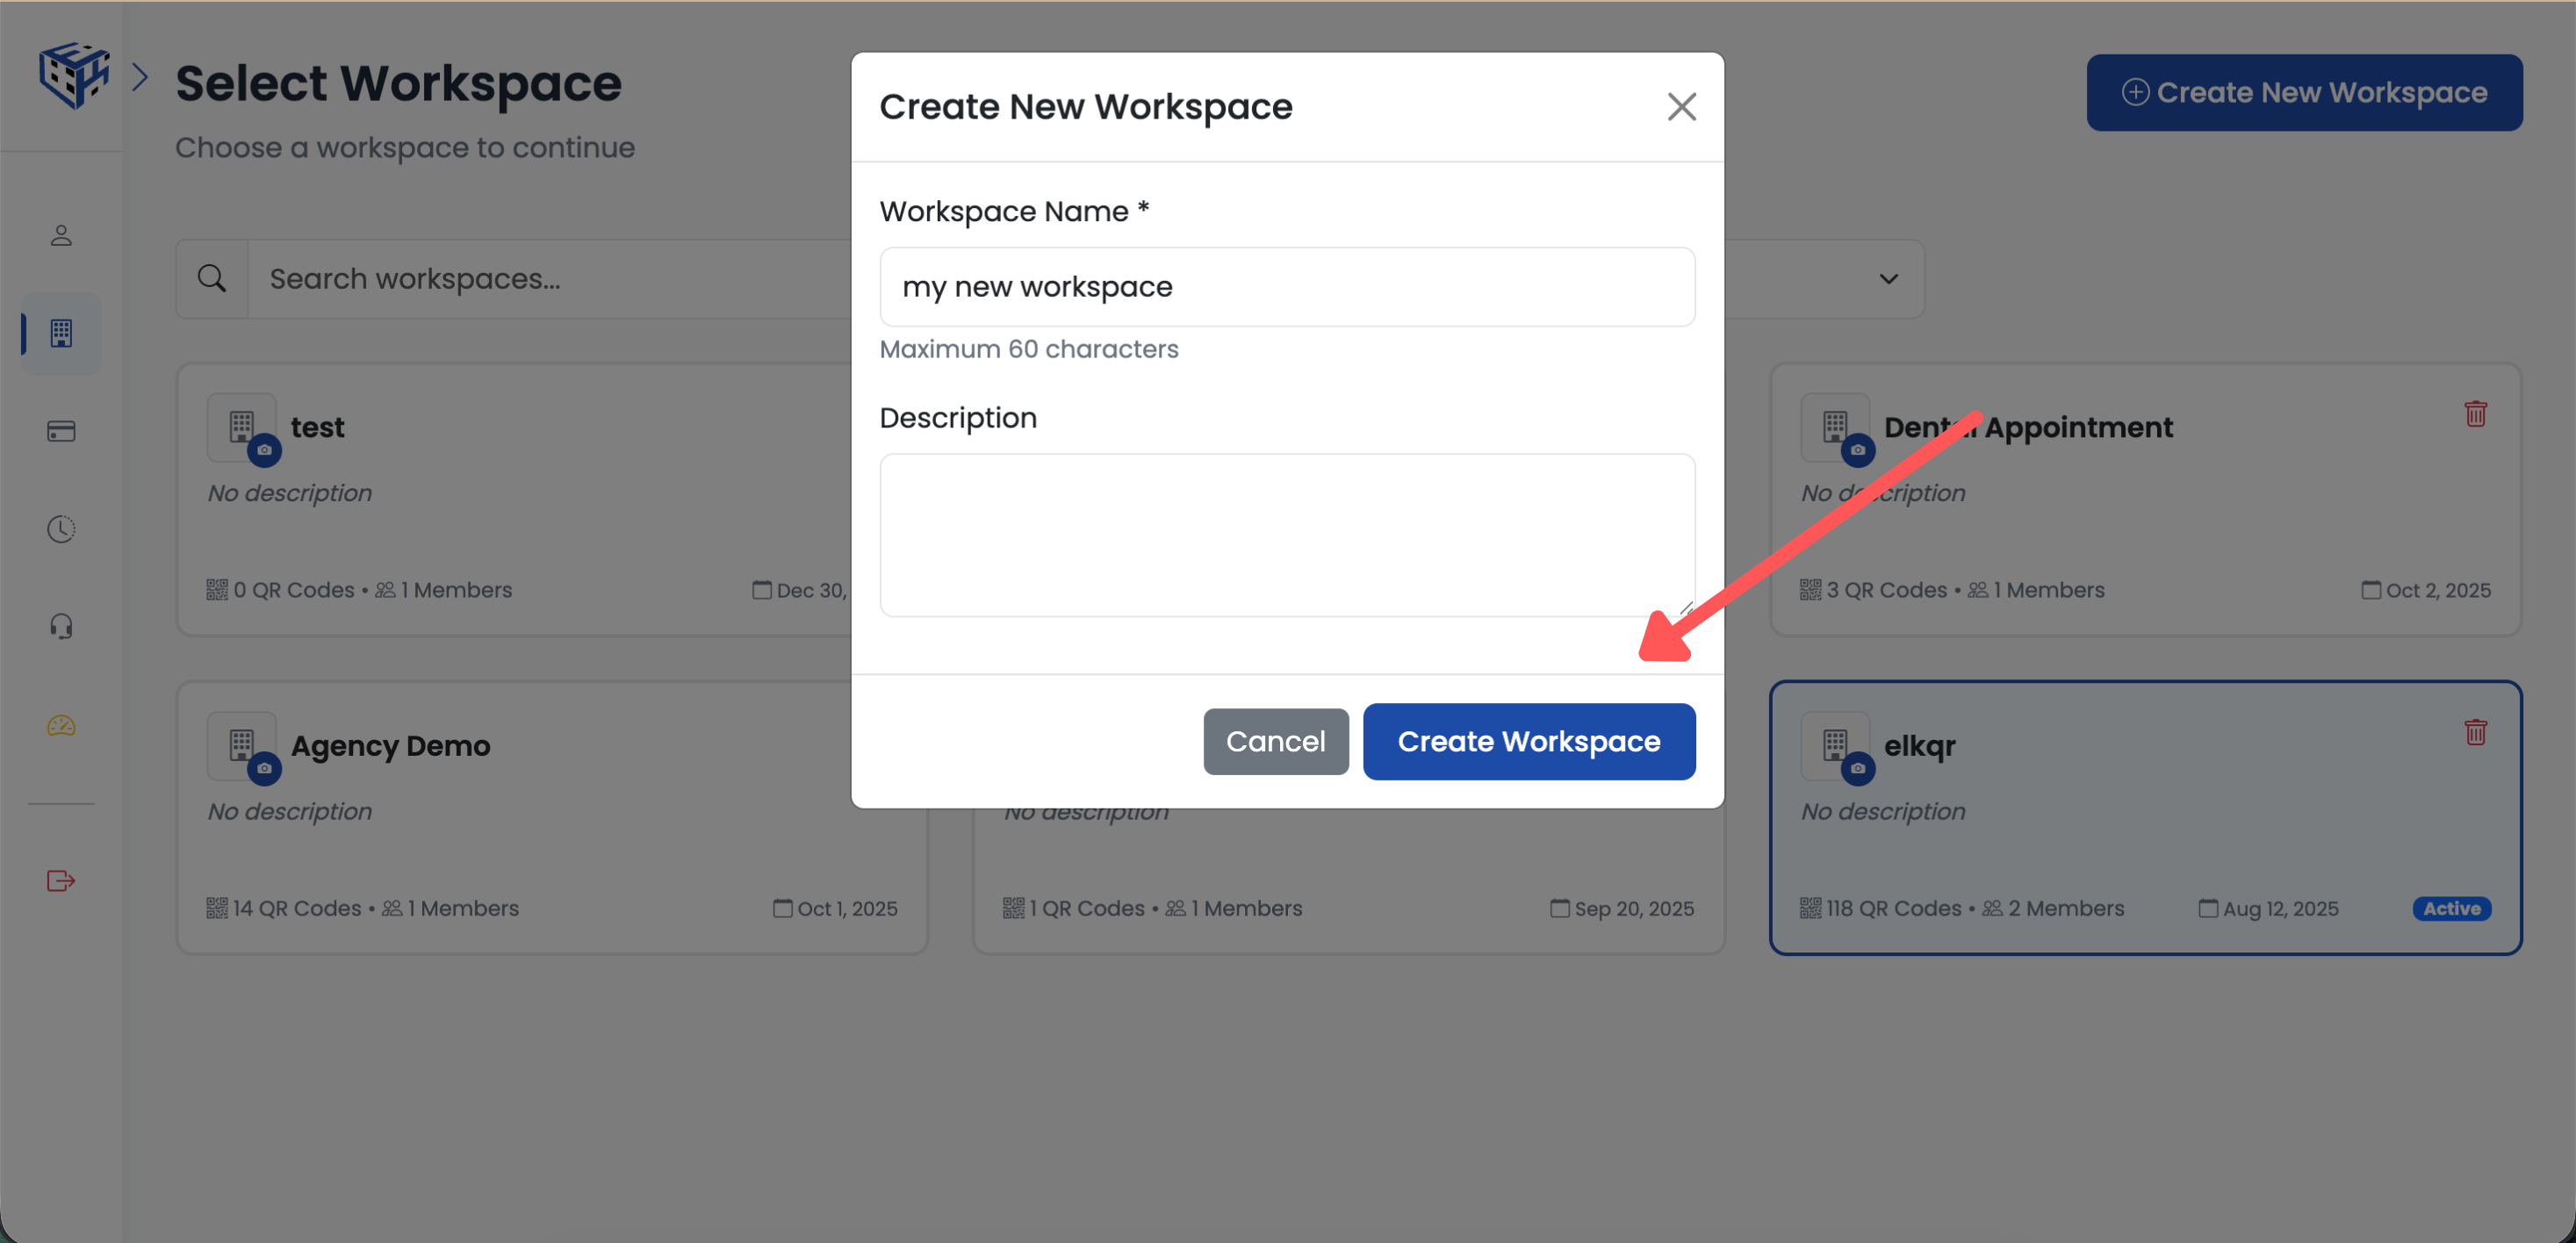
Enter workspace name and description
What Happens After Creation
- New workspace is created empty (no QR codes)
- You're automatically switched to the new workspace
- The workspace is ready for team invitations
- All settings start with defaults (configure as needed)
Warning
Only account owners can create workspaces. Invited team members cannot create new workspaces - they can only access workspaces they've been invited to.
Tip
The number of workspaces you can create depends on your plan. Check your Billing page for current limits.
Still facing difficulties?
Click here to contact our support team for assistance