Set your QR code to automatically activate and expire at specific dates and times.
Create or Edit a QR Code
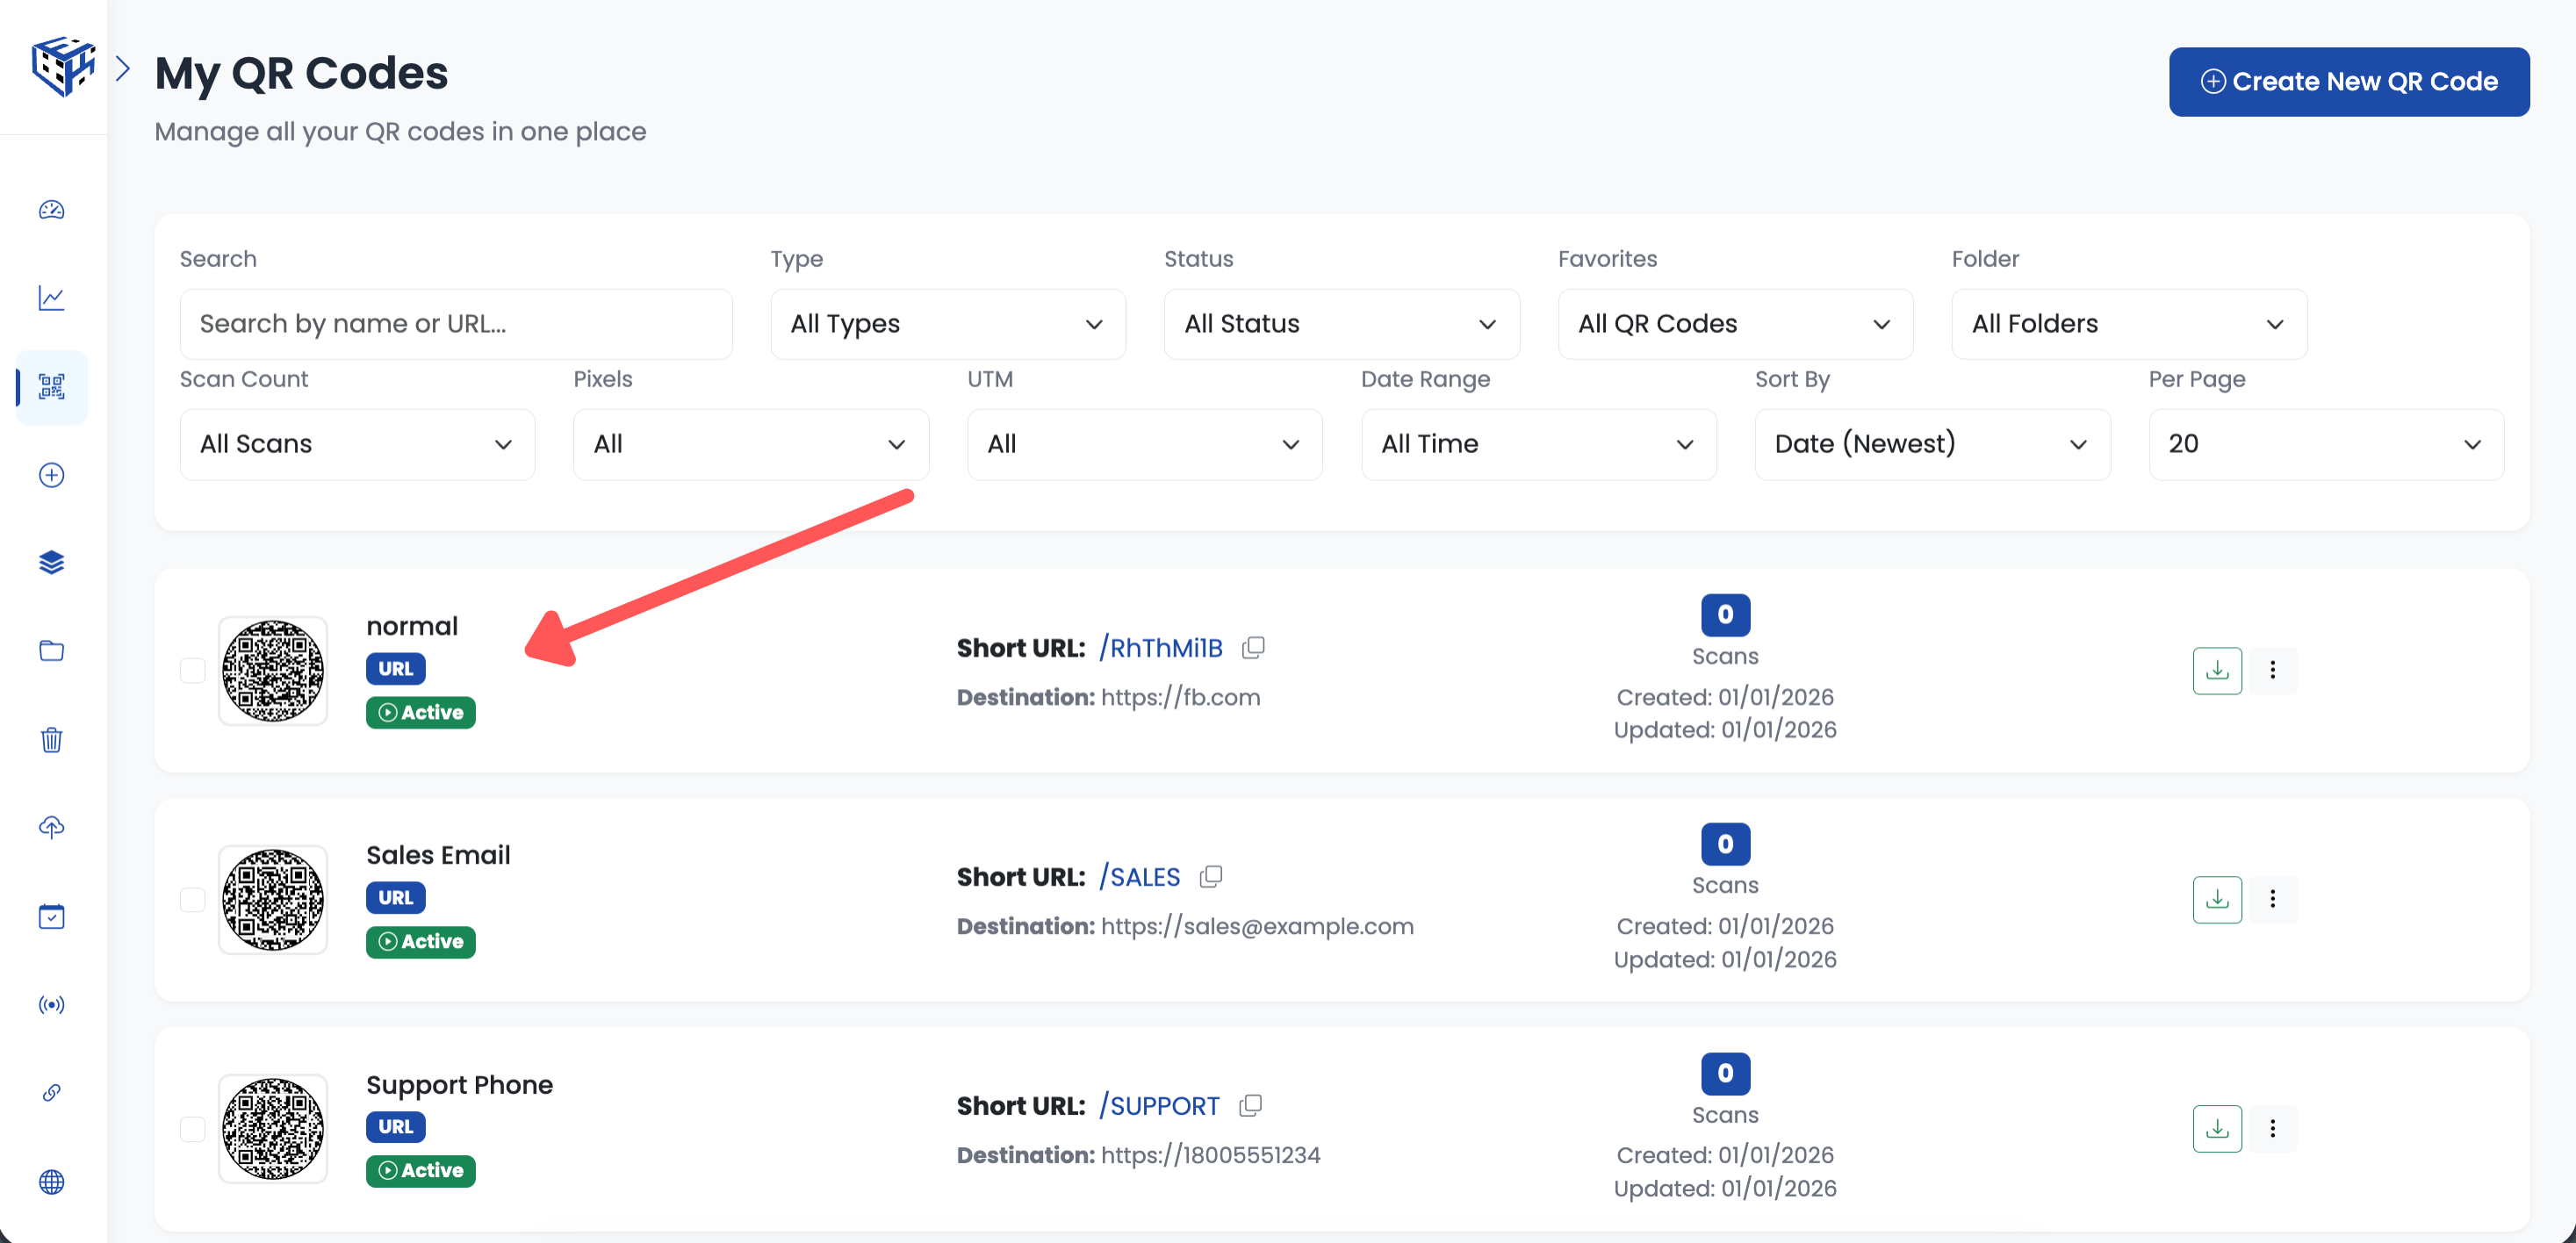
Create a new QR code or click the edit button on an existing one.
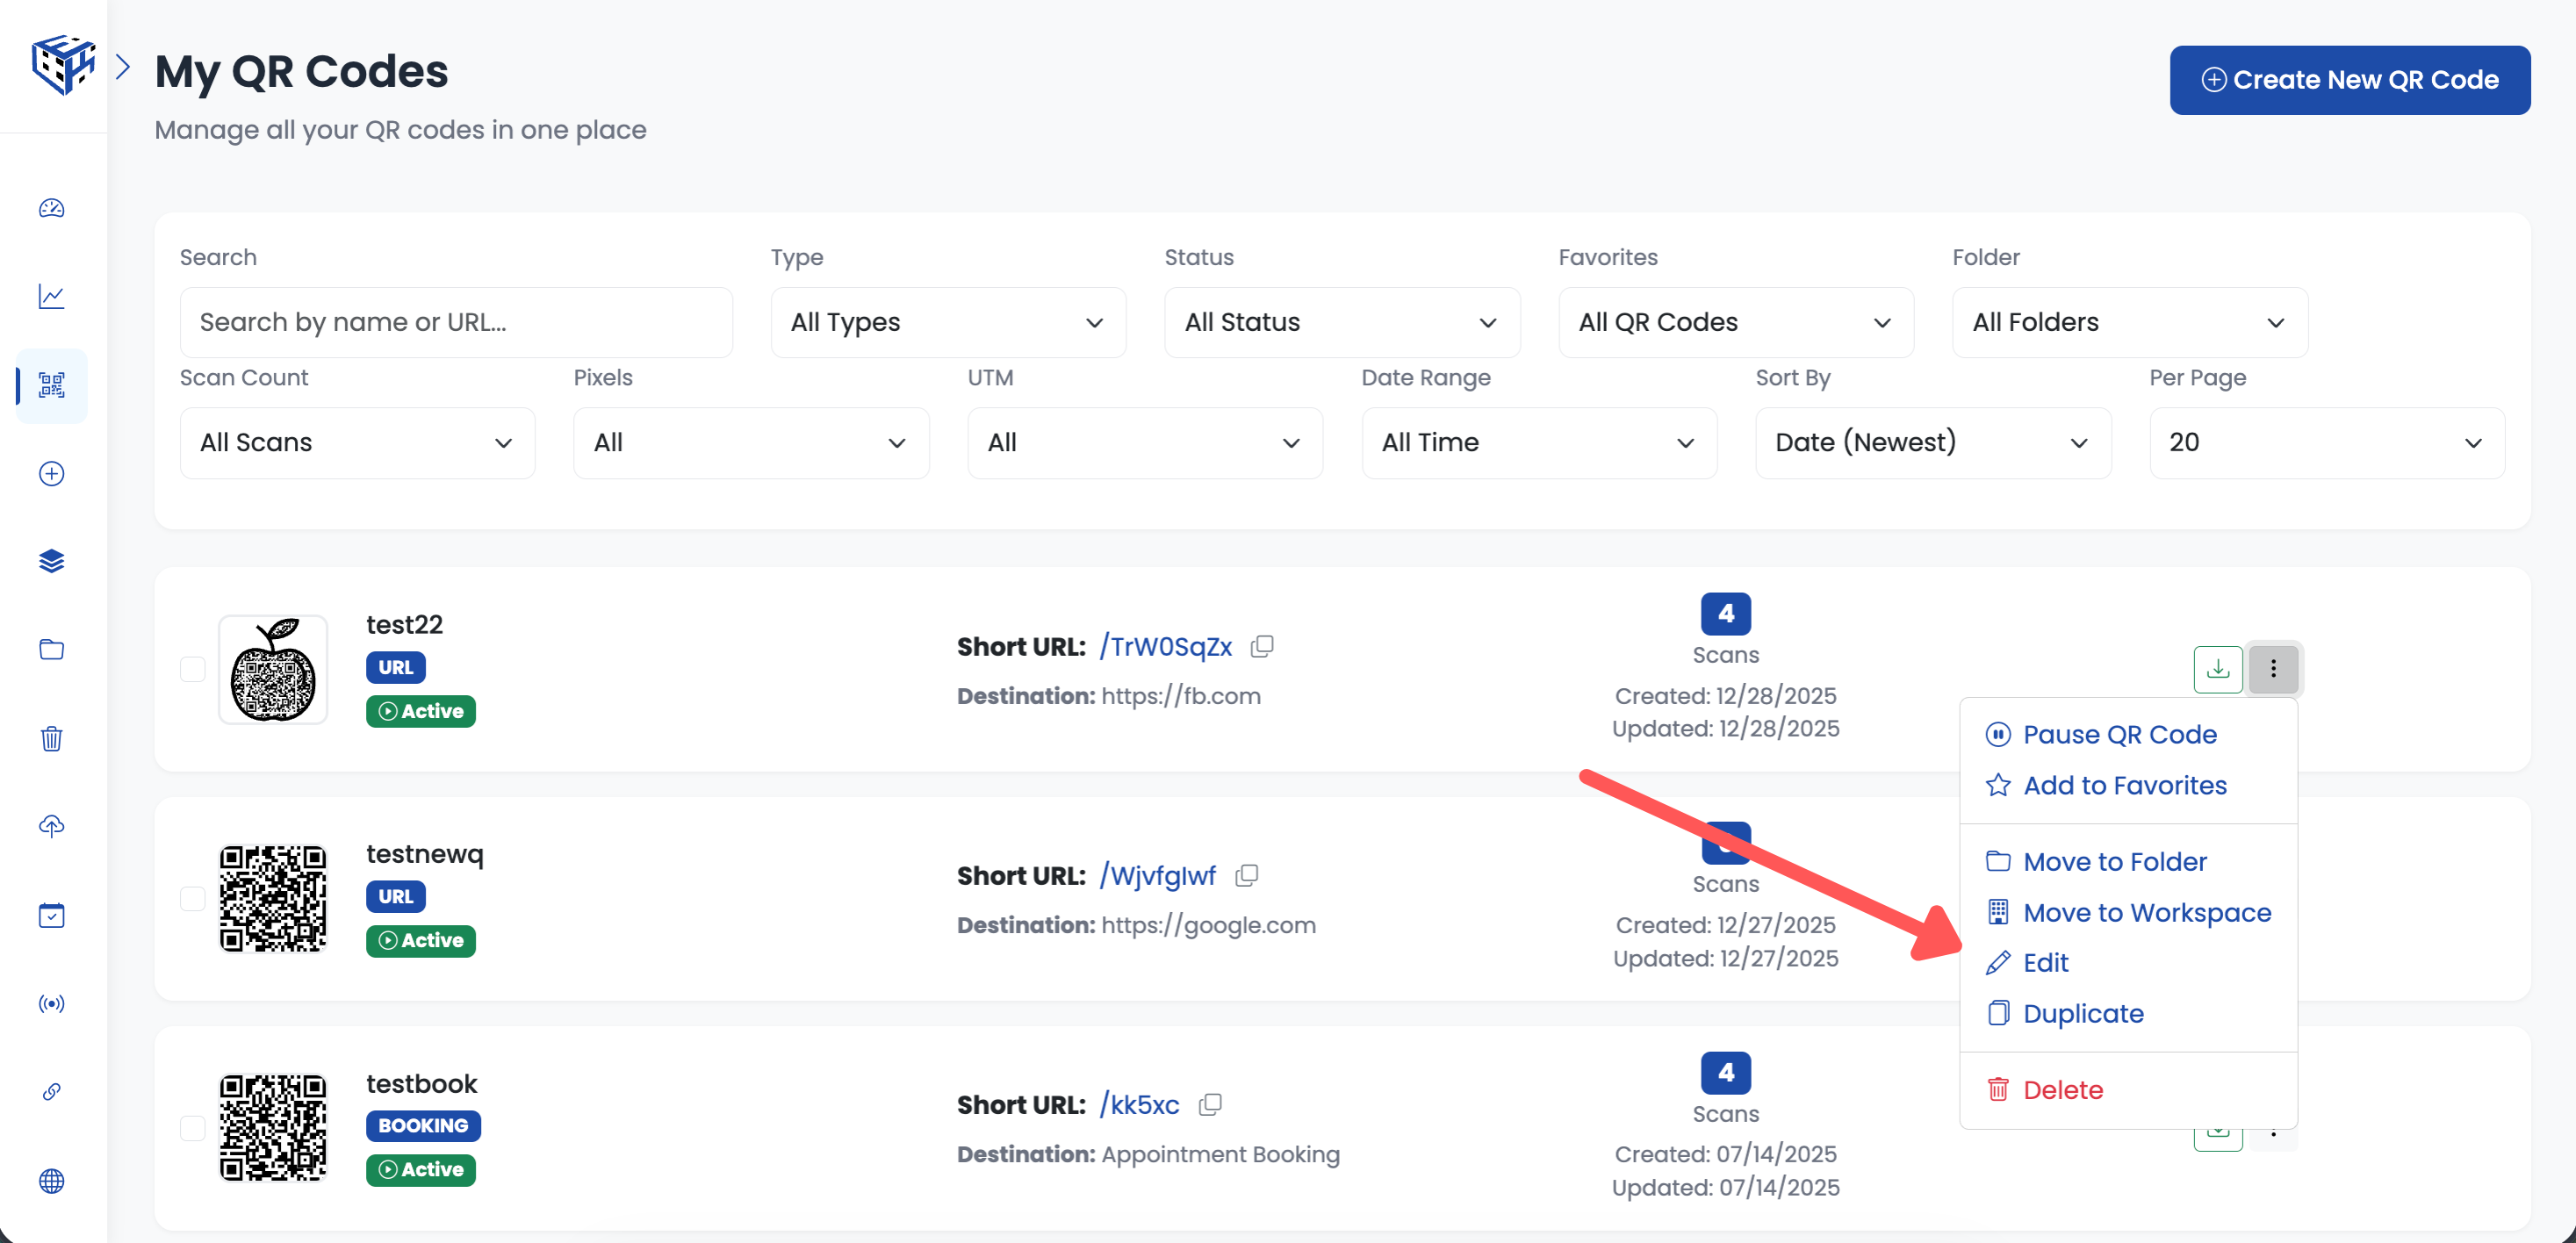
Create new or edit existing QR code
Go to Advanced Settings
Click on the Advanced Settings section to expand it.
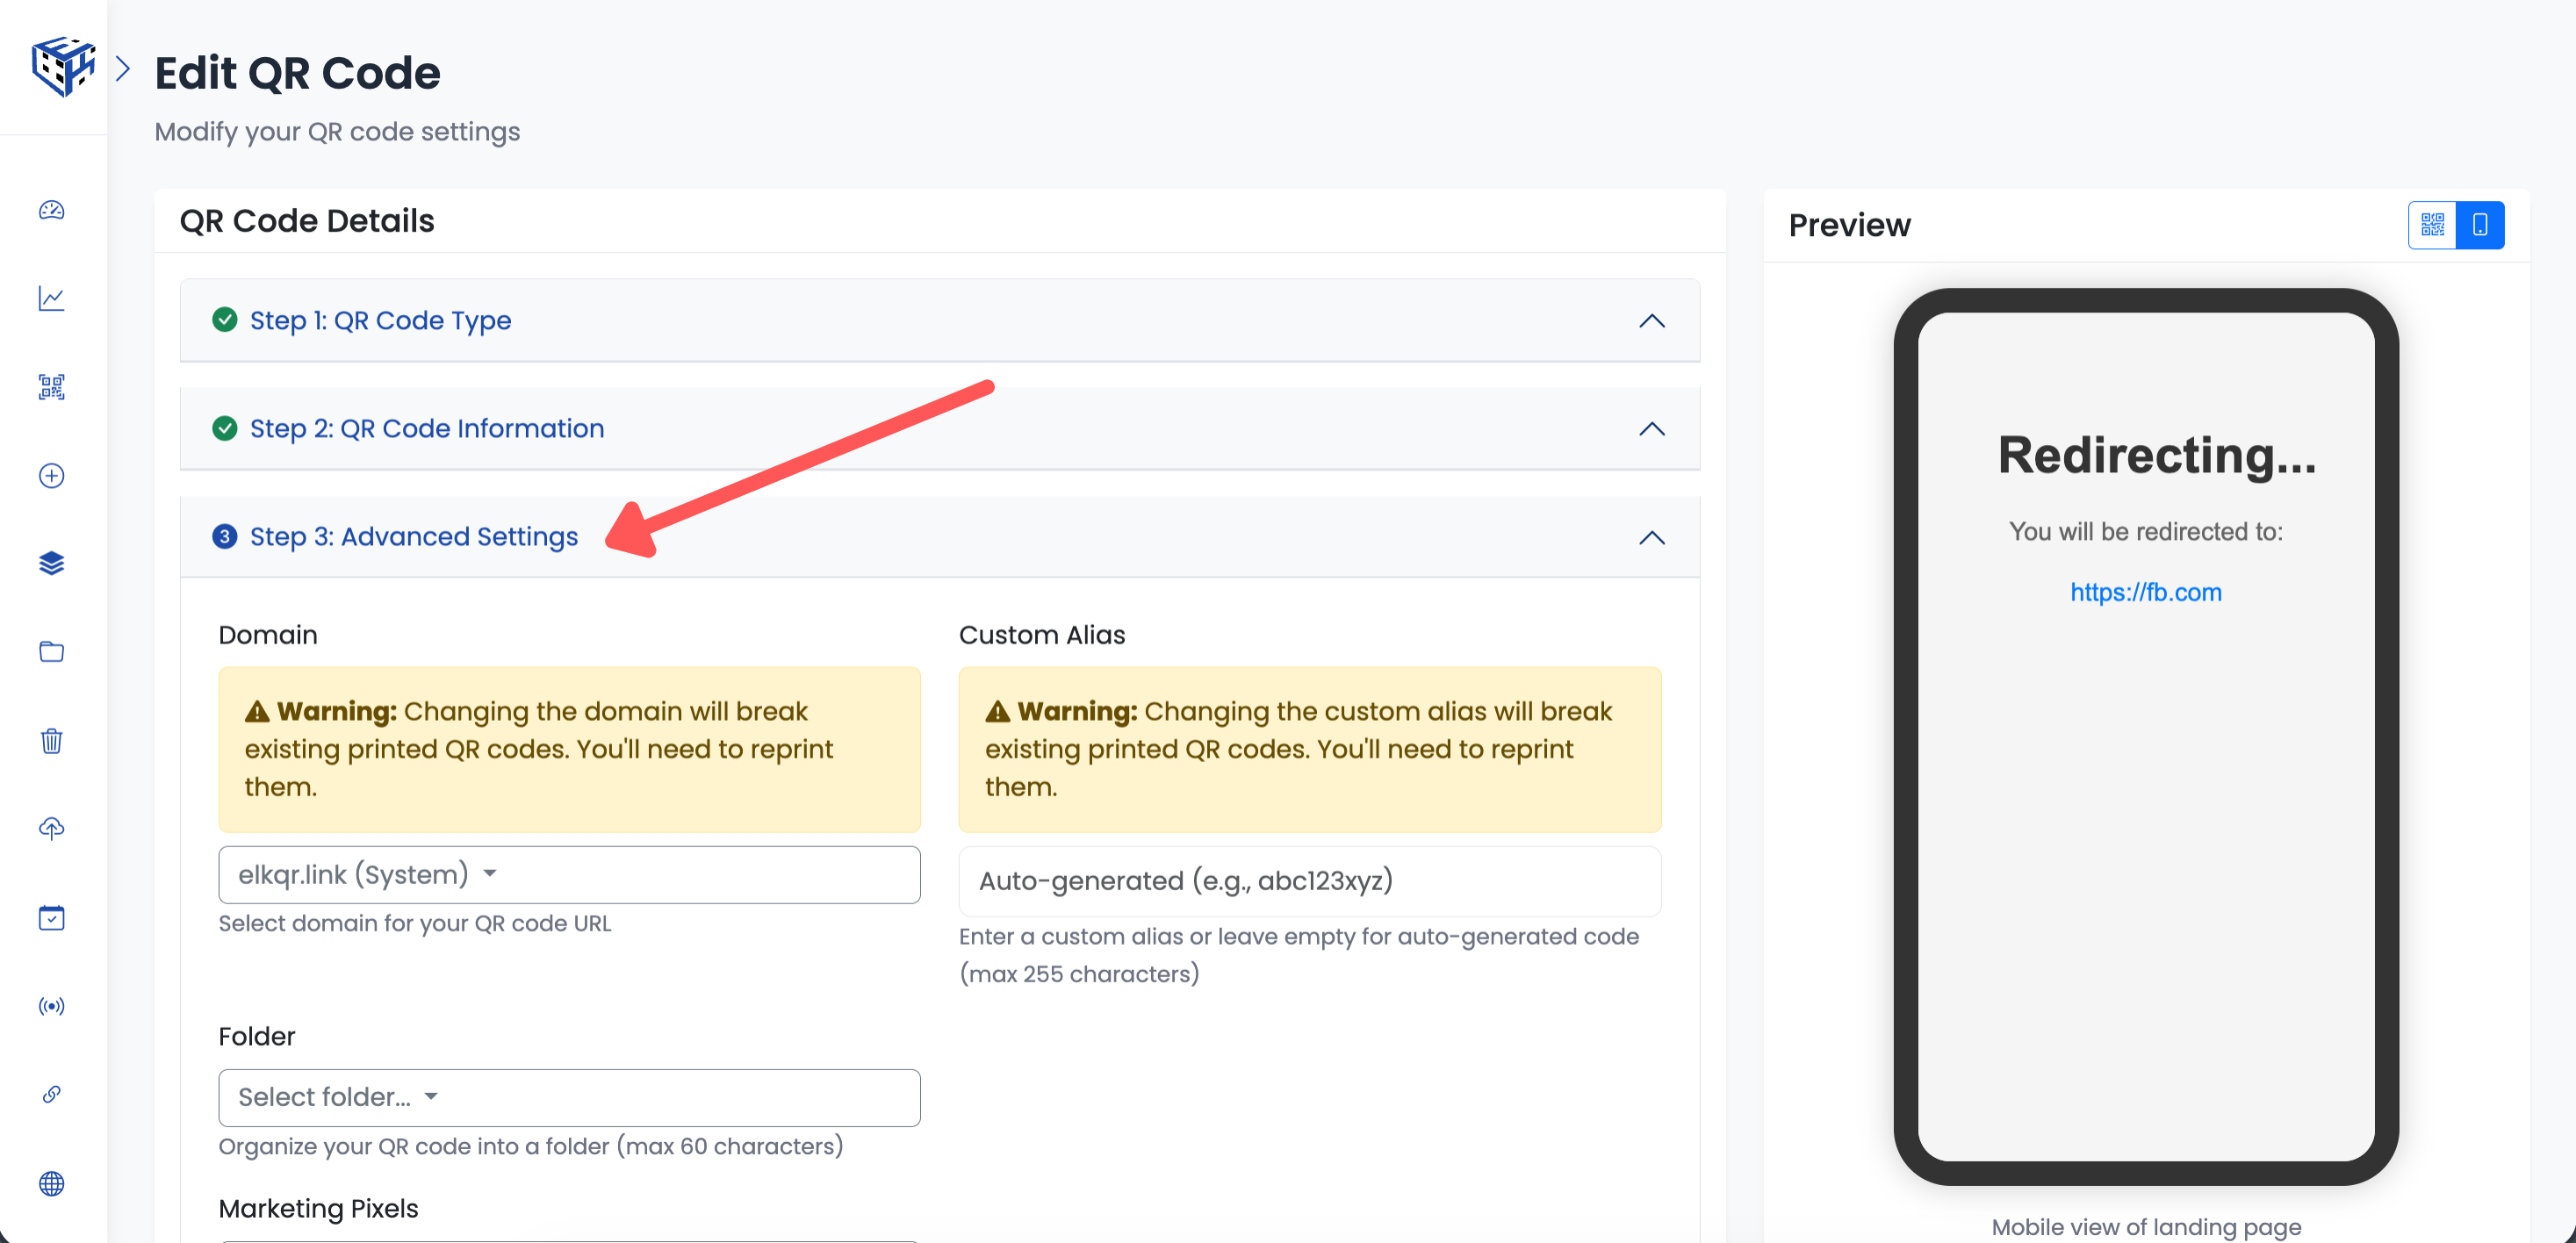
Go to Advanced Settings section
Find Scheduled Availability
Scroll down to find the Scheduled Availability section with a calendar icon.
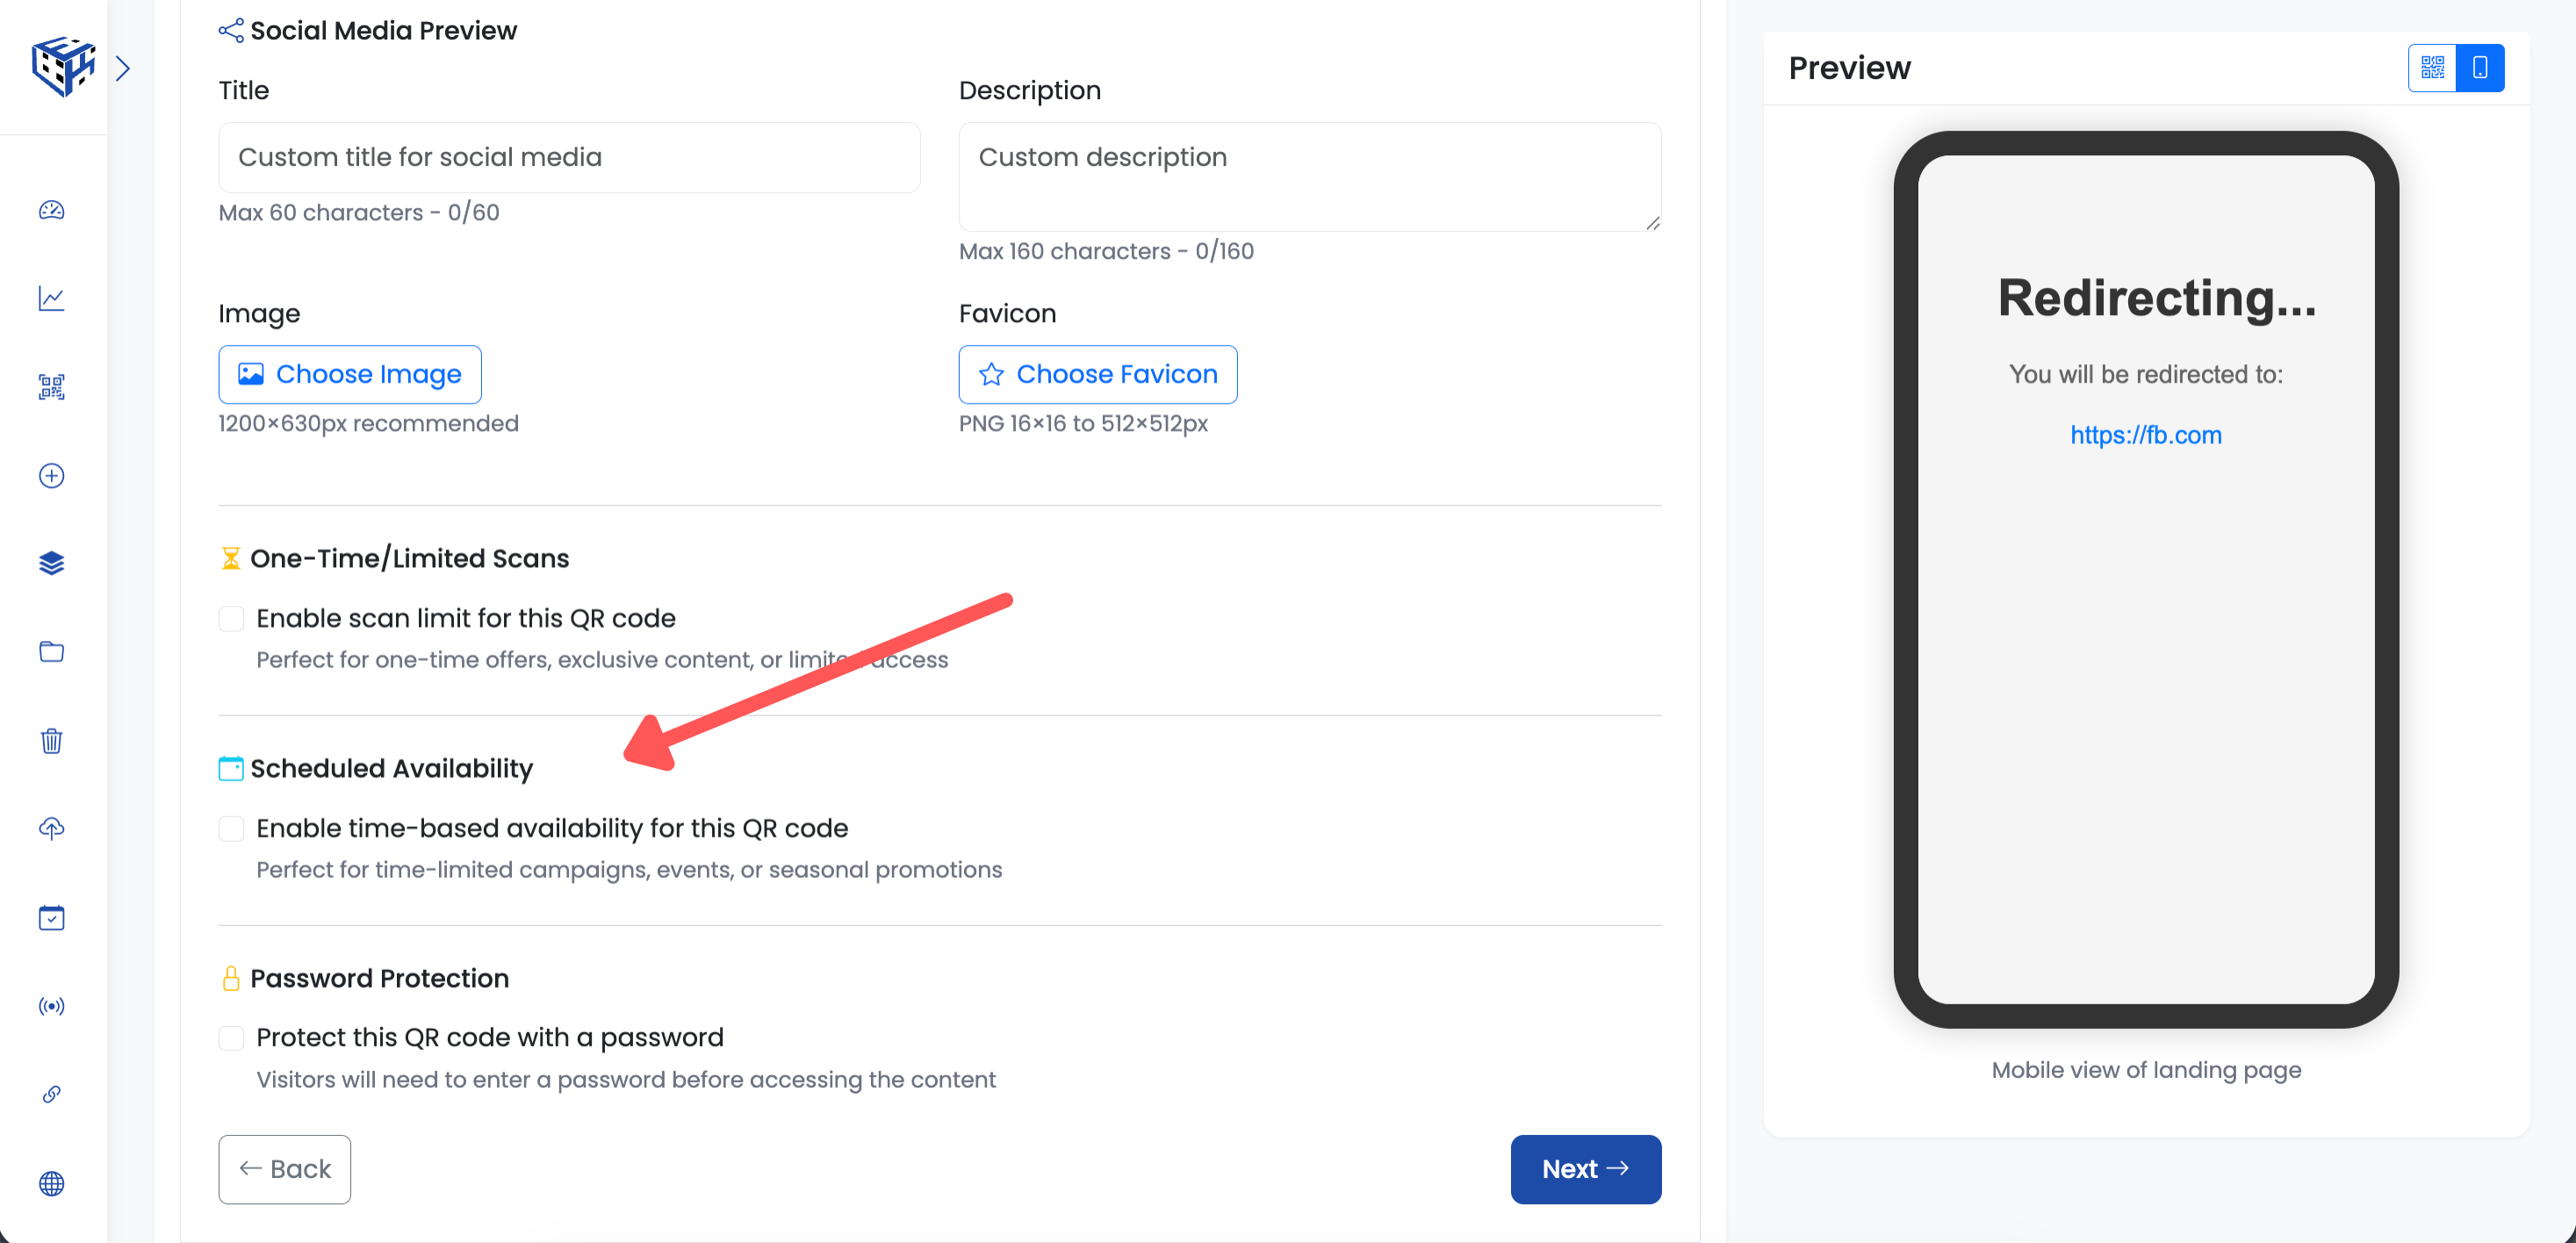
Find the Scheduled Availability section
Enable Time-Based Availability
Check the box "Enable time-based availability". The date/time fields will appear.
Check the box to enable scheduling
Set Start and End Date/Time
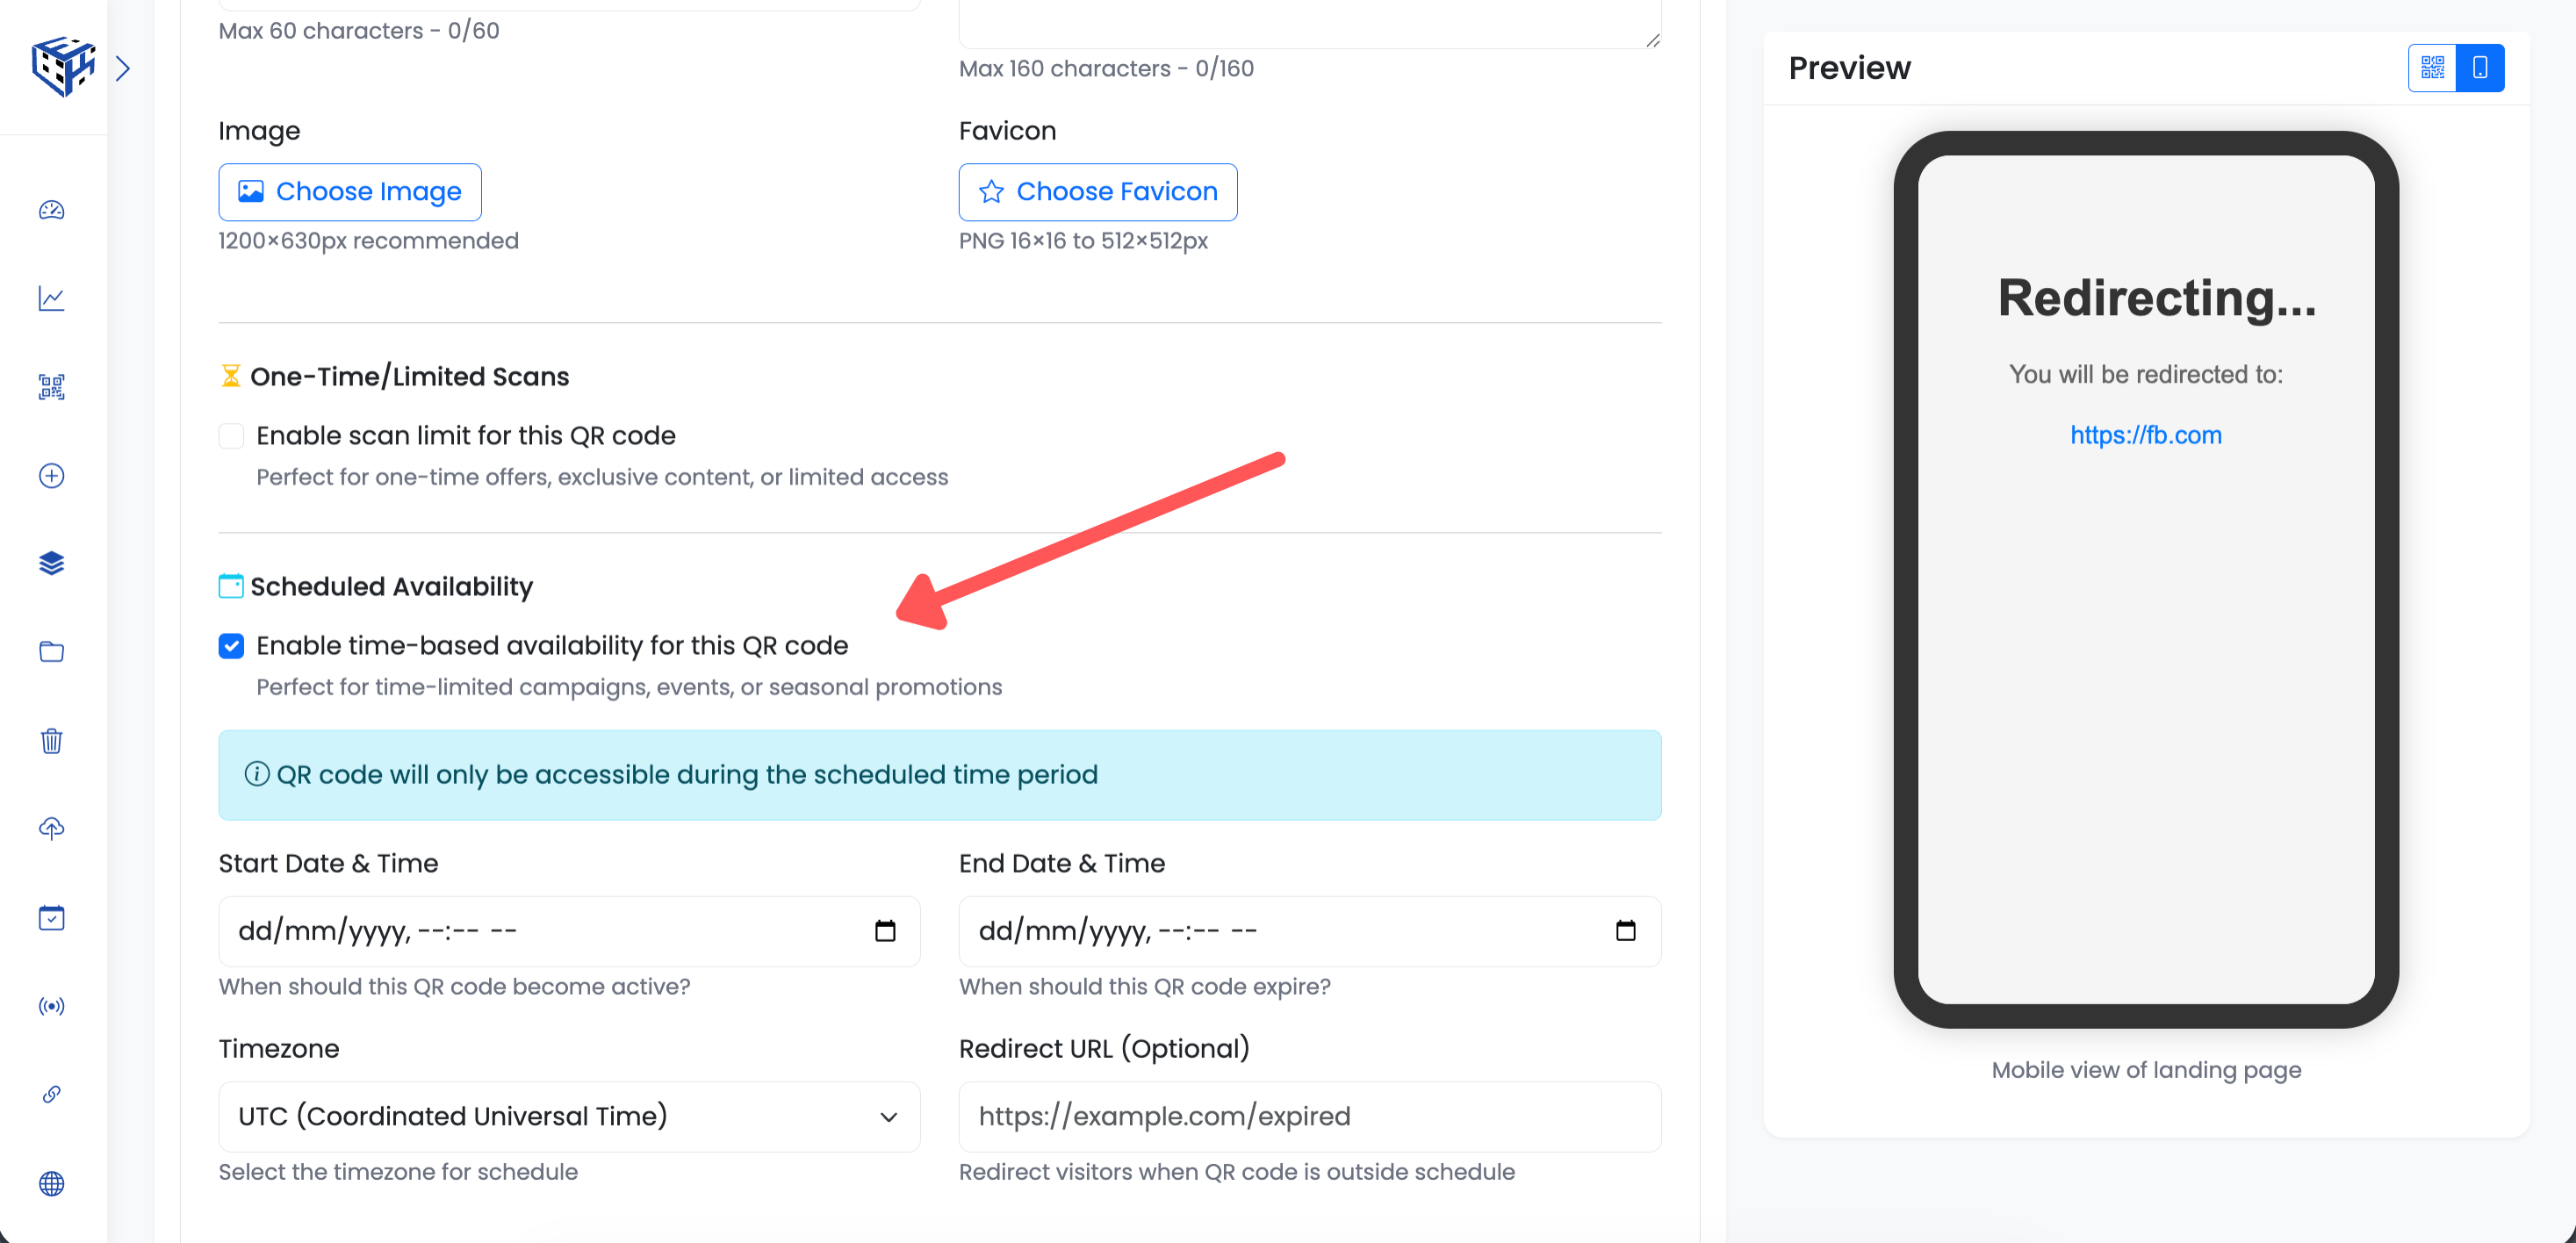
Enter when the QR code should become active (Start Date & Time) and when it should expire (End Date & Time). Select your timezone from the dropdown.
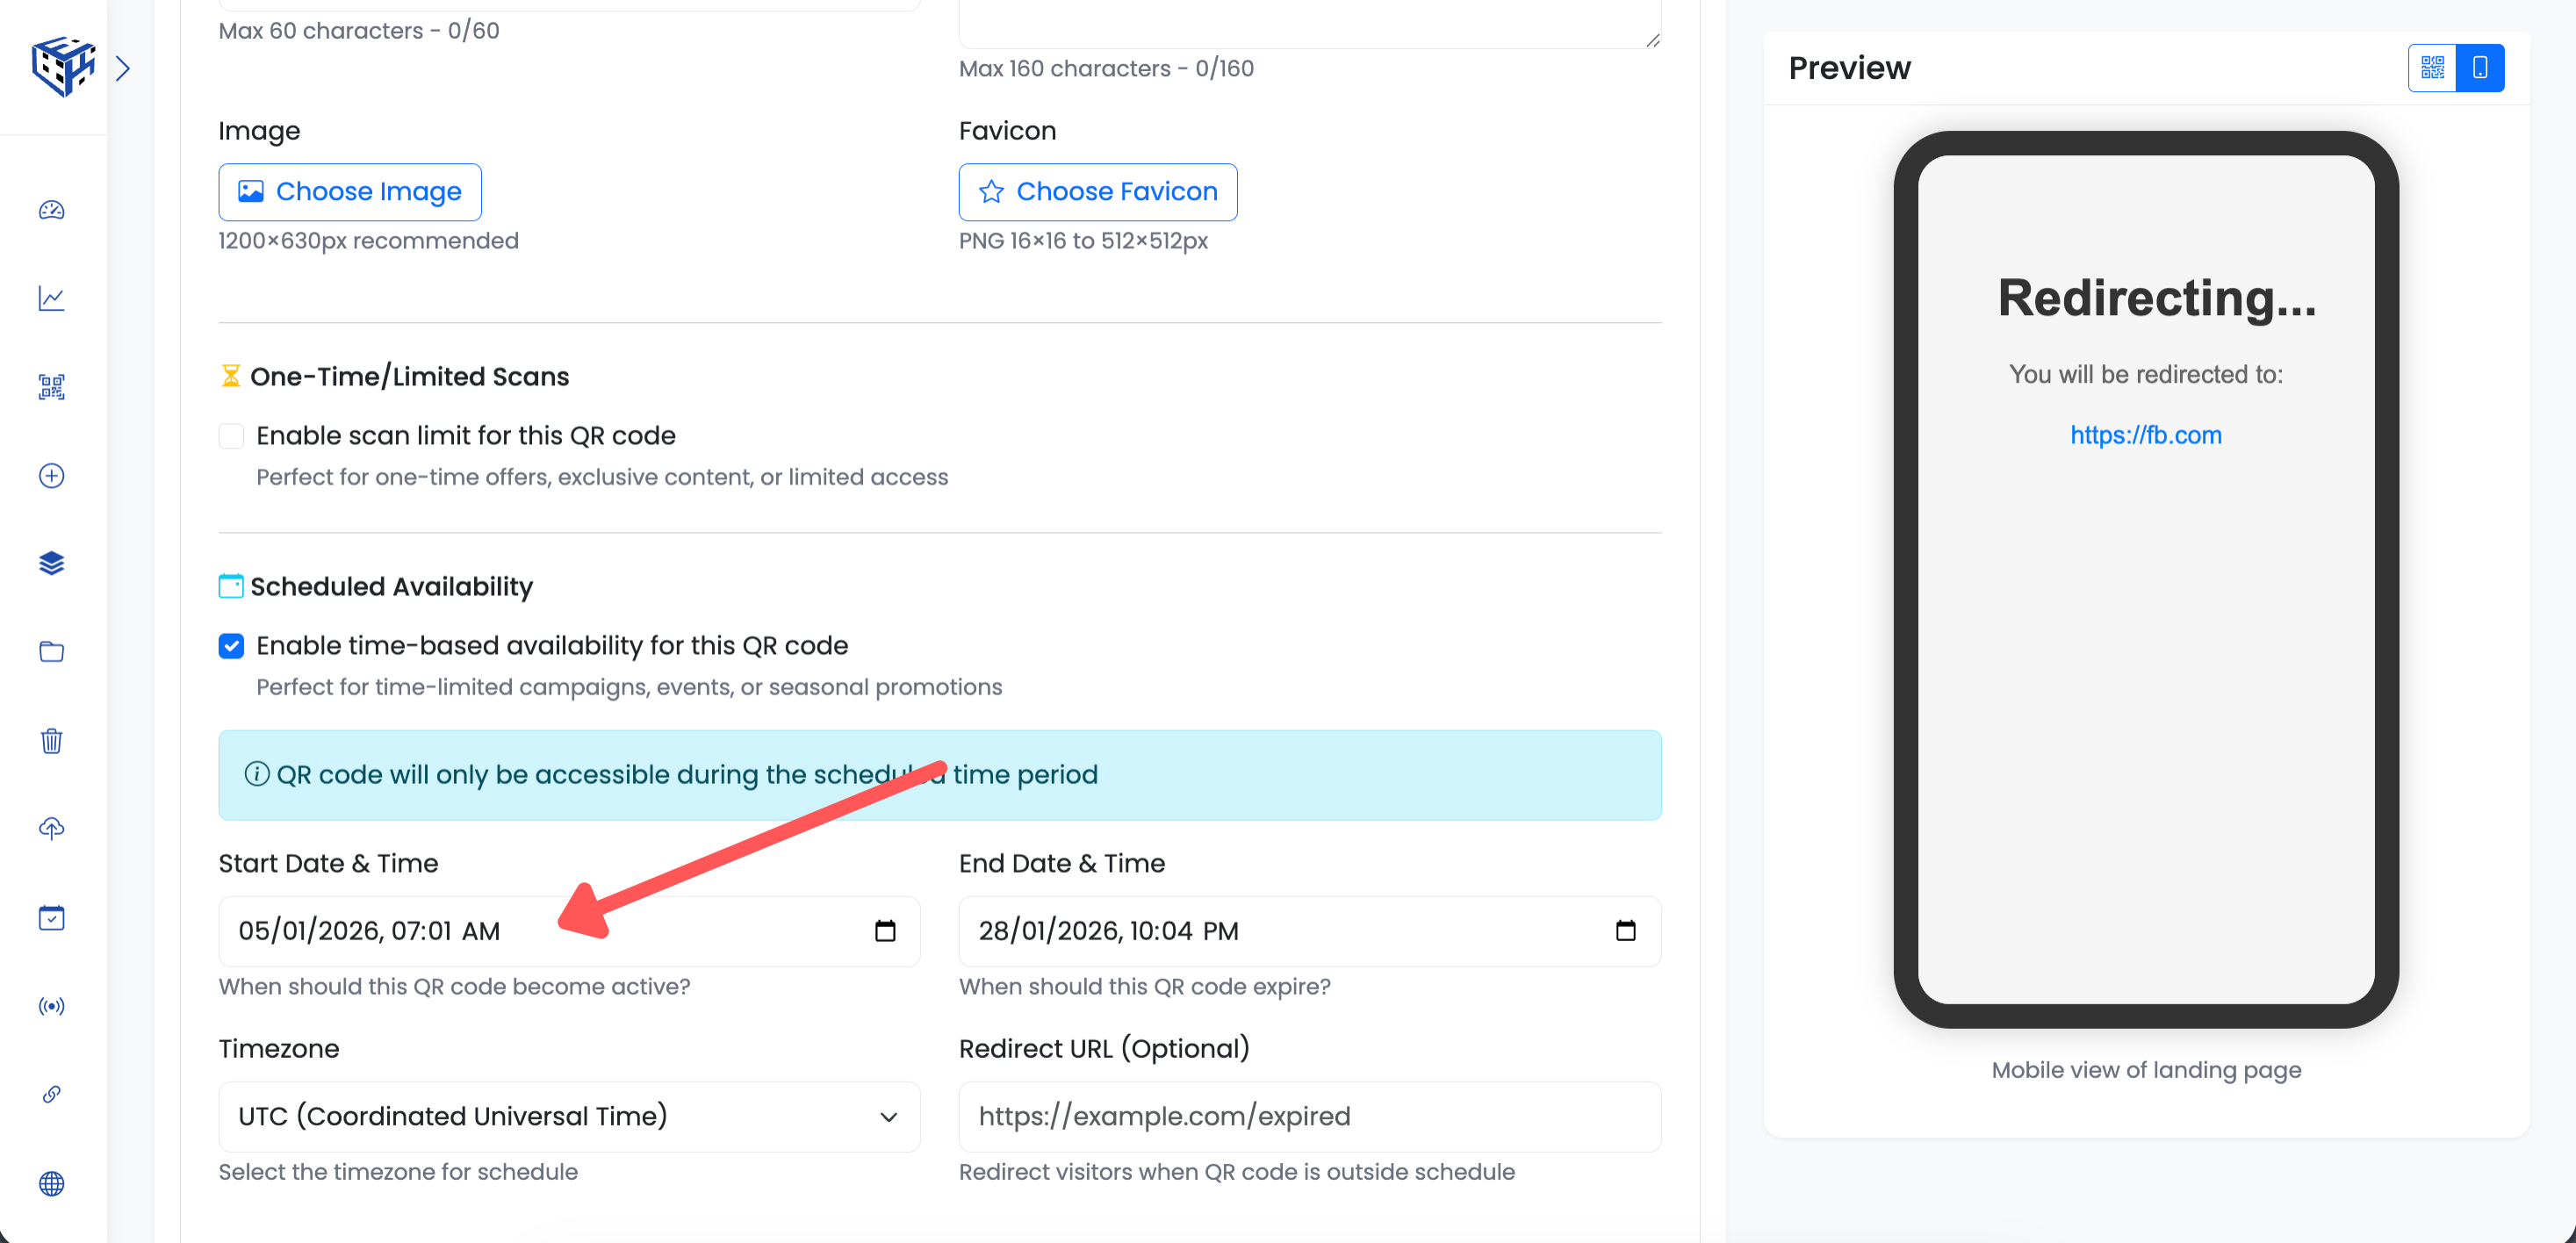
Set start date, end date, and timezone
Set Redirect URL (Optional)
Optionally, enter a redirect URL for visitors who scan outside the schedule. Leave empty to show the default 'Content not available' message.
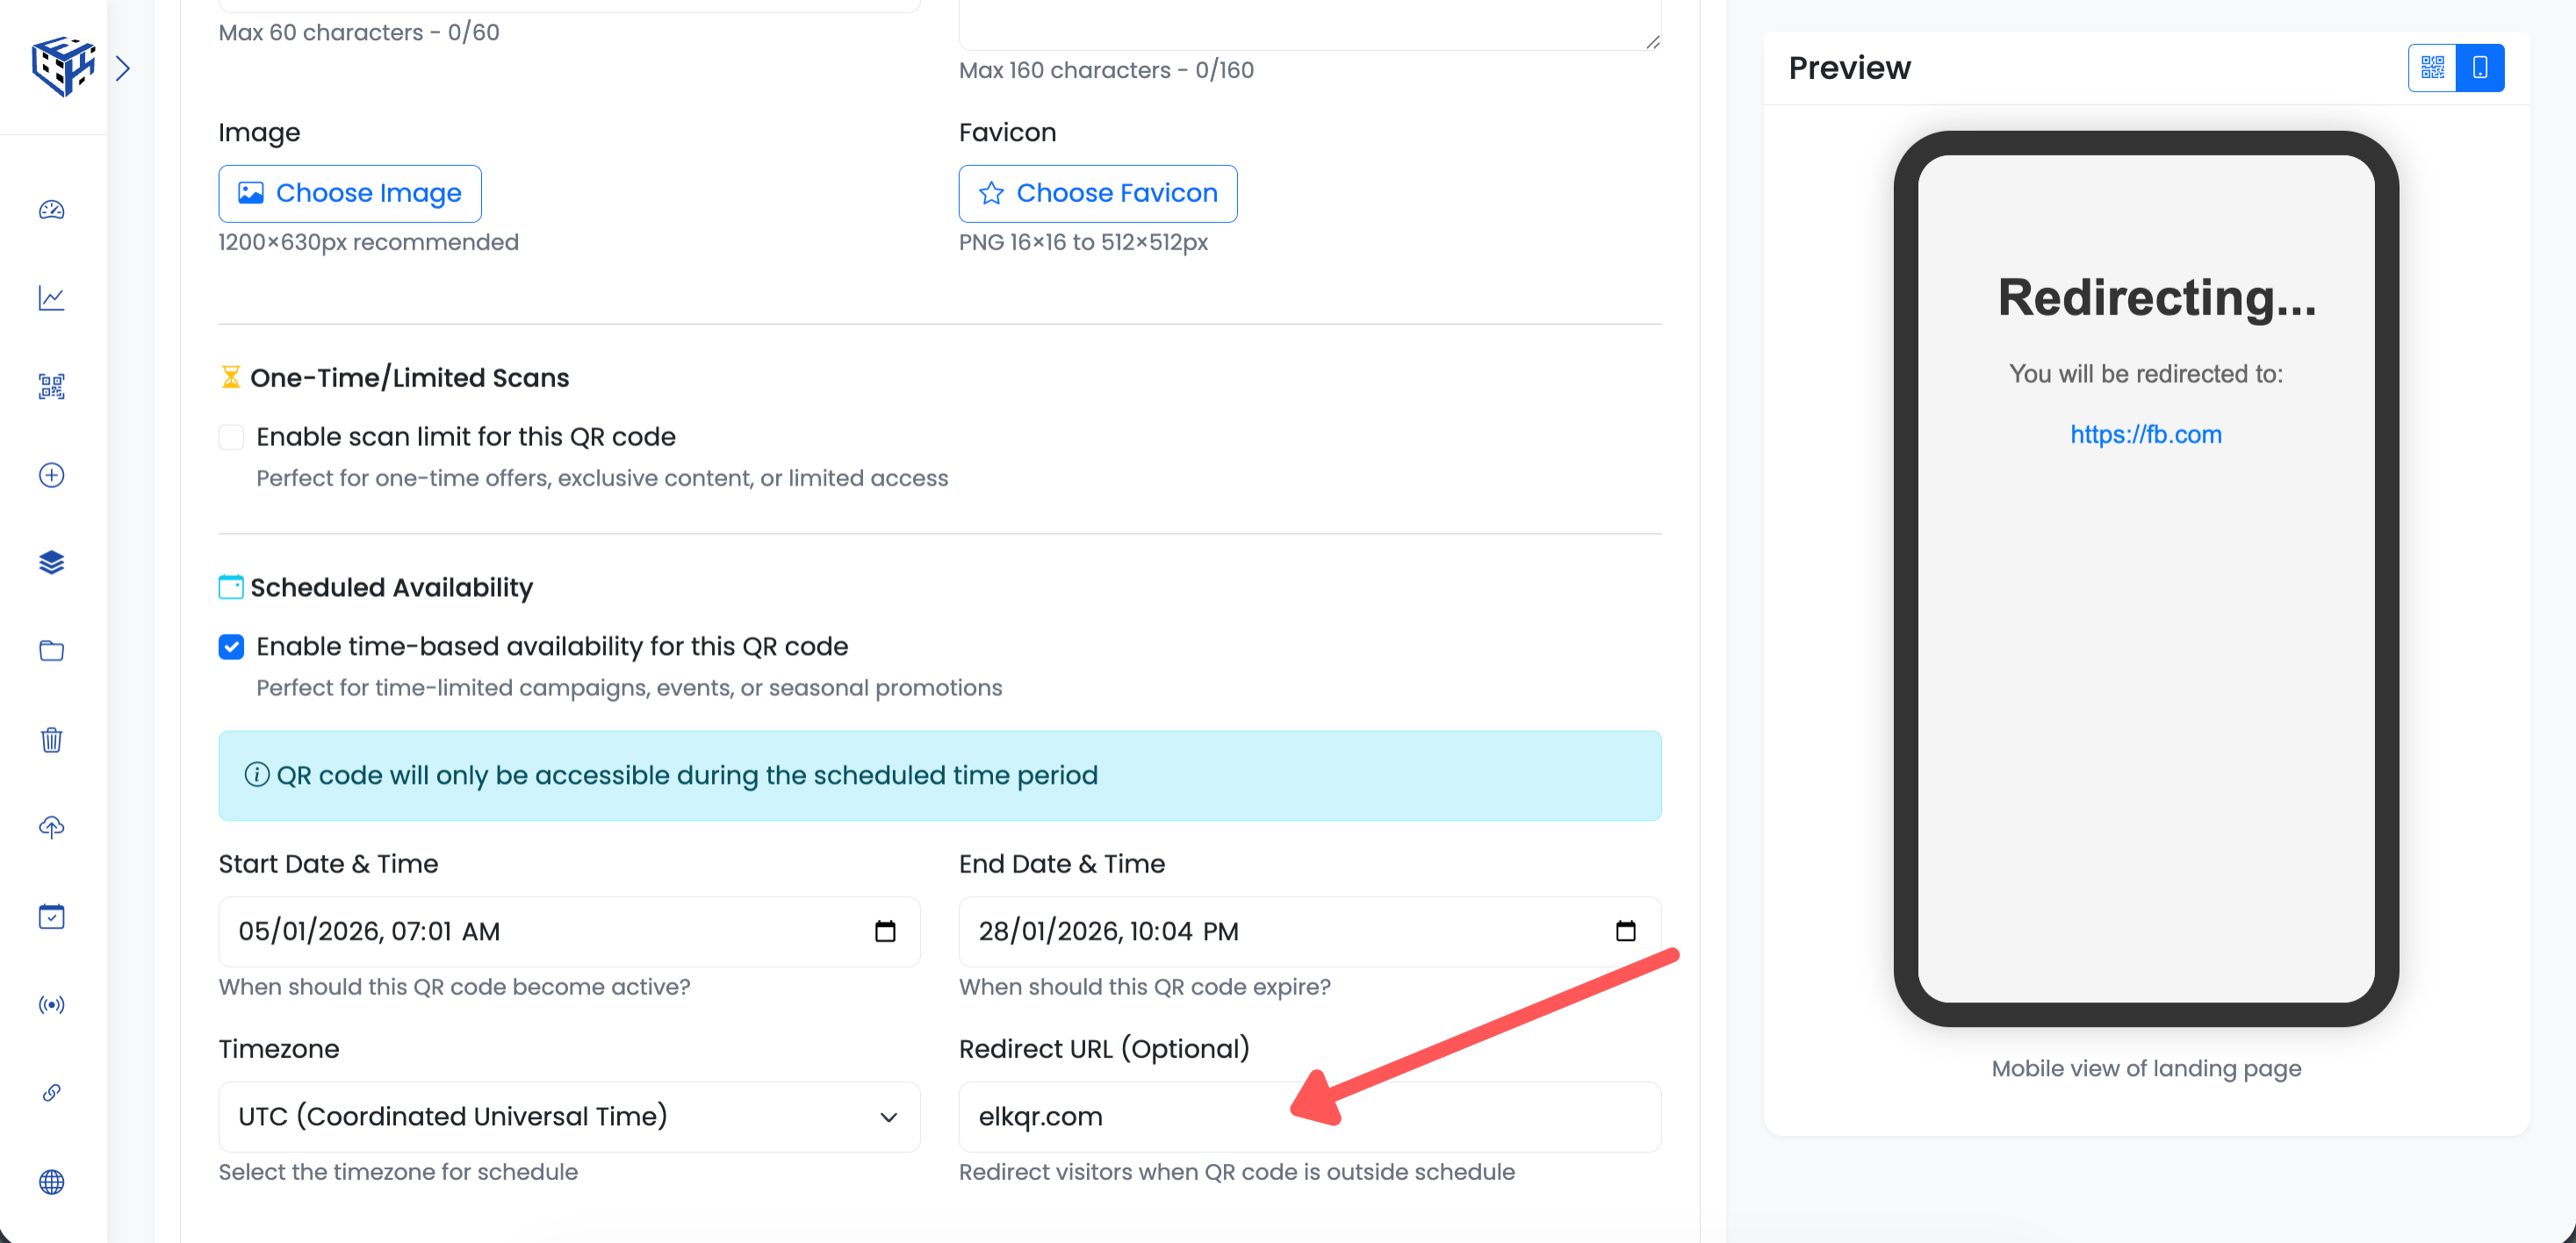
Optional redirect for out-of-schedule scans
Save Your QR Code
Click "Create QR Code" (for new) or "Update" (for existing) to save. Your QR code will automatically activate and expire based on your schedule.
Save to activate scheduling
What Visitors See Outside Schedule
When someone scans before the start time, they see a 'Coming Soon!' page showing your QR code name and when the content will be available. After the end time, they see an 'Expired' page. If you set a redirect URL, they'll be sent there instead.
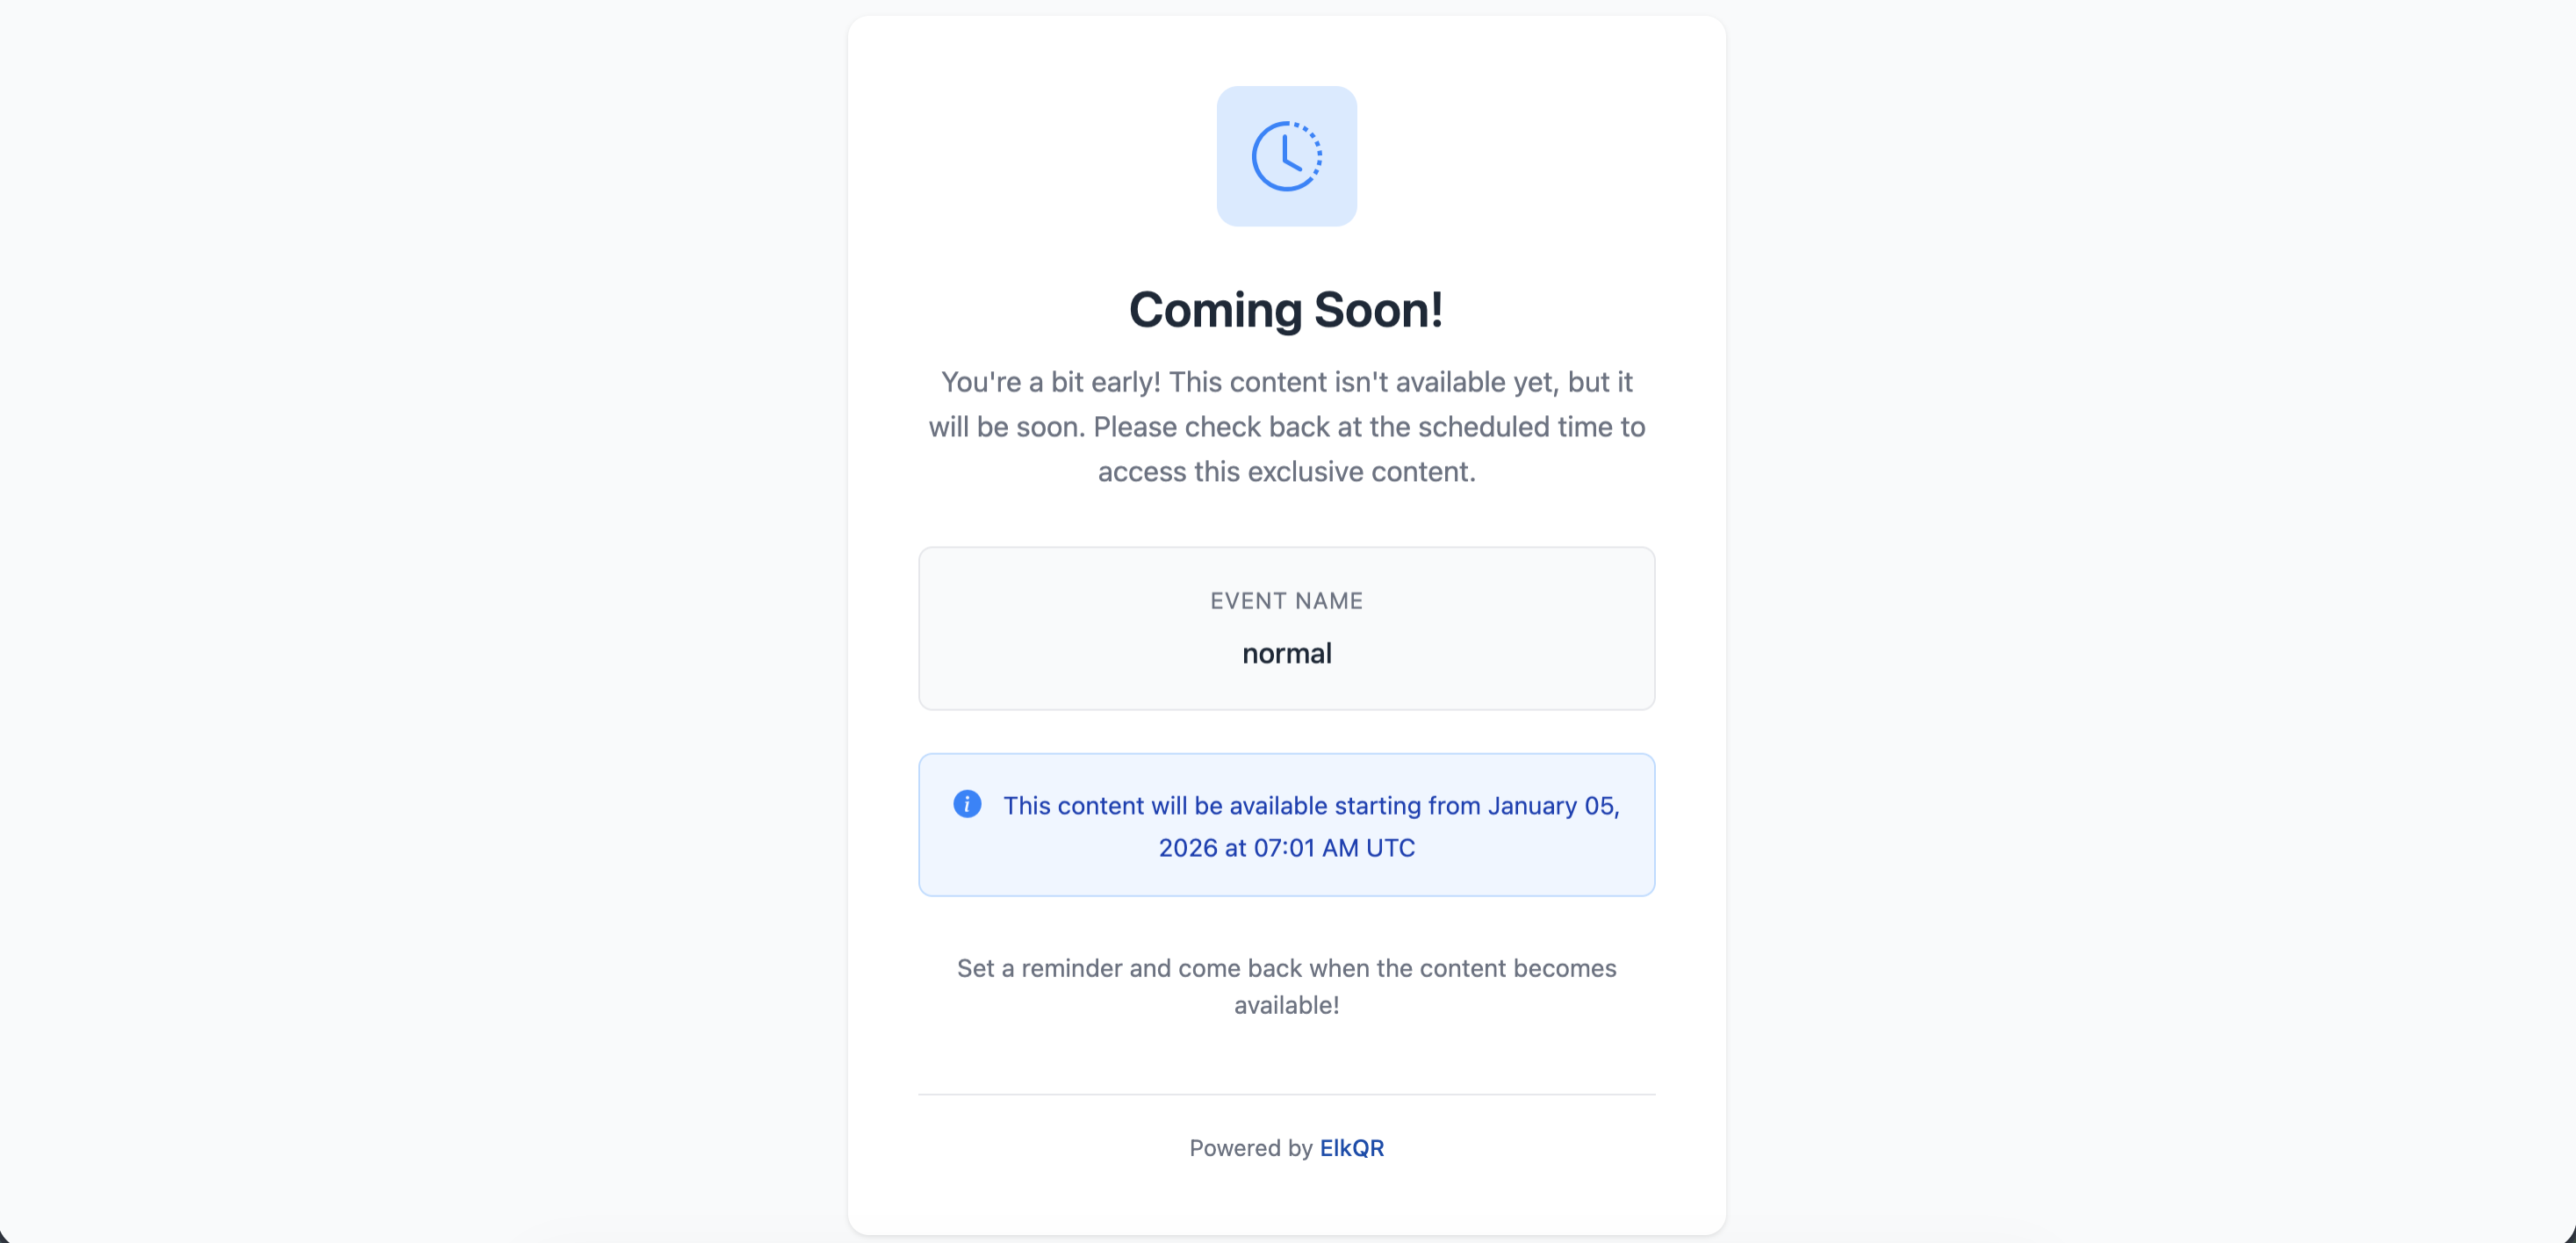
Visitors see this page when scanning outside scheduled time
Tip
Always double-check your timezone before a big launch!
- Schedule QR Codes - Learn more about scheduling features
Still facing difficulties?
Click here to contact our support team for assistance